
Introduction
Microsoft Sentinel is a cloud native Security Information and Event Management (SIEM), and Security Orchestration Automation and Response (SOAR) solution. It allows organisations to ingest log feeds from most sources, contextualise the data with threat intelligence before making use of machine learning models to assist in providing actionable information and intelligent alerts. The ingested data can be queried using KQL to actively threat hunt specific threats, IOCs, or ambiguous activity. We can also use Power Apps to create automated responses and workflows.
What we won’t cover
Below is a list of some areas we recommend looking into each before deployment, however they will not be in this blog as they will vary dependant on your specific use case, organisational maturity, and compliance requirements.
- Role Based Access Control (RBAC). The applies to both the Log Analytics Workspace, and the Sentinel Workspace.
- Data Governance. If you are centralising data from different regions, for example Europe and North America, you need to consider the different data protection Laws and ensure you maintain compliance.
- Multi-Tenant deployment.
- Resource Group Locks
- Azure Resource Manager (ARM) Templates.
- Microsoft Sentinel Pricing Plans.
Creating a Log Analytics Workspace
To use Microsoft Sentinel we must have a Log Analytics workspace, to create one in Azure we go to https://portal.azure.com and search for “Log Analytics Workspace” and select the relevant icon.

We select the subscription we want to use, then fill in the required naming information, and create a new Resource Group if required, and select the region where we want the logs to be stored.
NOTE: It’s best practice to create a new Resource Group for a Sentinel Workspace, and any associated resources such as the Log Analytics workspace, Workbooks, and Playbooks.

The tags are to make billing easier by providing us with information as to where money is being spent within our tenant – For example; Production or Testing. You can skip this section if you don’t need this.

That’s it we hit “Review + Create”, then after confirming the details we select “Create”.
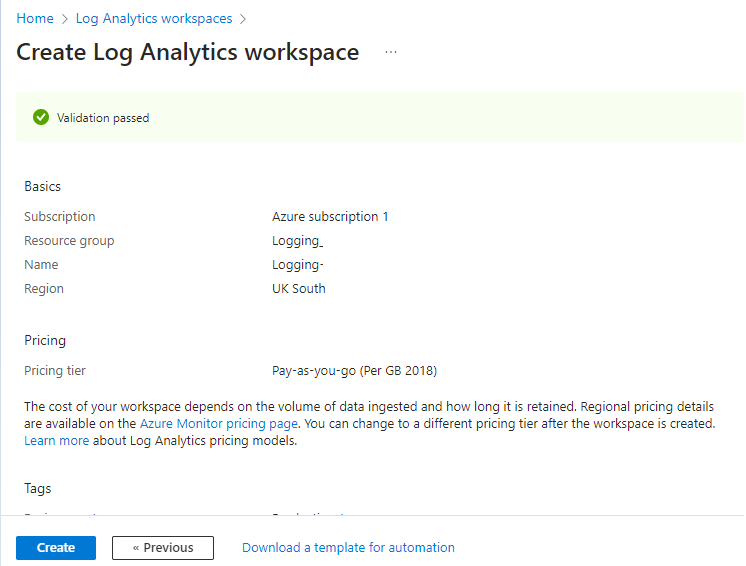
NOTE: It will automatically select “Pay-as-you-go”, however this can be changed later before you begin sending any logs to the workspace.
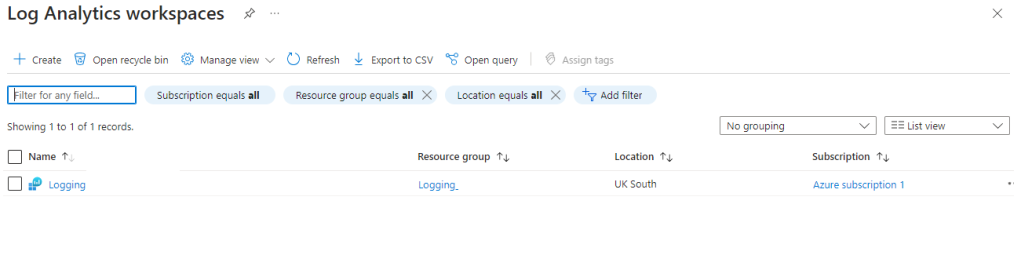
Now when you go to the Log Analytics Workspaces page you will see this new workspace shown.
One more thing we want to do is to set up some costing alerts to ensure we are not going to be hit with a large unexpected bill each month. Especially if you really can’t be sure how much a certain workspace will cost, creating a budget threshold and alert will ensure you are aware of any spiralling costs and give you the opportunity to pause the ingestion of logs and look to reduce them, or adjust the retention period to bring down the cost.
Before we create a budget, we may want to create an “Action Group” to receive our budget alerts. To understand “Action Groups” you can watch this video on Microsoft Learn.
NOTE: You can set the alert conditions without an Action Group, however it’s useful to know where this is and have it ready should you wish to add some automation to your alerts. If you wish to skip this step you can go straight to setting up your budget.
To set up our “Action Groups” we use the search bar in the Azure portal at https://portal.azure.com to search for “Monitor”.

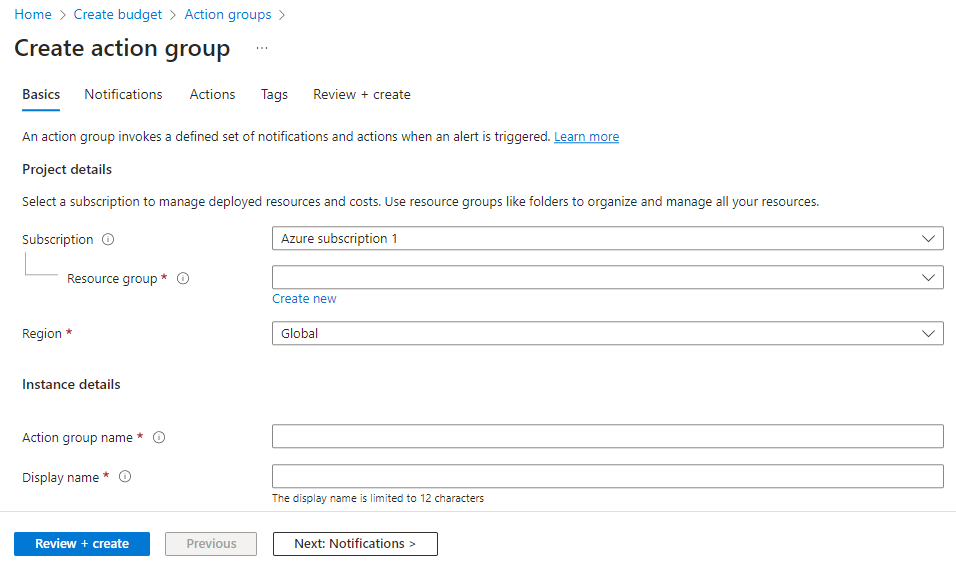
Select the “Monitor” menu item, then on the next page select “Alerts” in the left-hand menu, then use the “Create +” dropdown menu to select “Action group”.

This Action Group will be associated with a Resource Group, so you need to ensure you select the same Resource Group that contains our Log Analytics Workspace. Provide a name, then a display name, and change the Region if you wish.
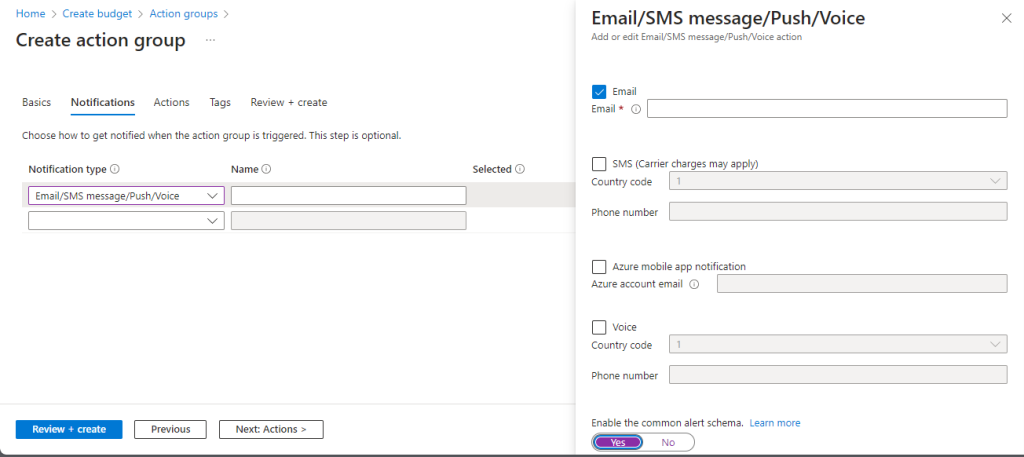
We are going to create a basic email notification type, however you can create Action Groups which trigger a Logic App for example, but that is beyond the scope of this guide.
We select the relevant type from the dropdown menu, provide a name, and then select the relevant box in the right-hand sub-menu and add the email address of who should be receiving the alerts. We also select to use the “Common Alert Schema”. An explanation of this is beyond the scope of this guide, however you can find information on it here.
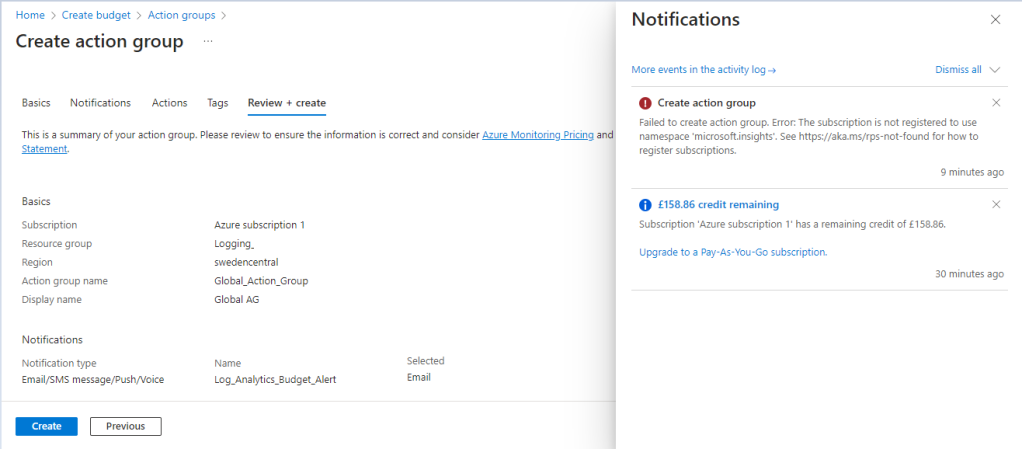
We don’t need to configure “Actions” or “Tags” so skip straight to “Review and Create”. While doing this I received a notification that the group could not be created. I’ve left this error in the guide and provided the solution, as things going wrong is part and parcel of working with IT Systems. You will always encounter things not working as expected.
A quick investigation of the error message shows we need to register a namespace which for some reason has not been registered.
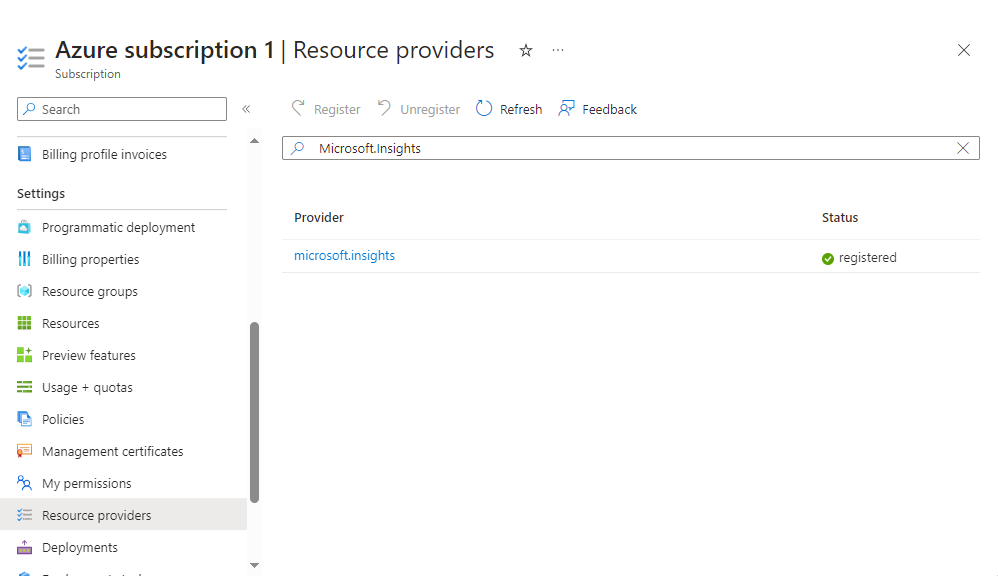
To add a namespace we head over to our Subscription which would be the one that contains the relevant Resource Group, and Log Analytics Workspace.

We select “Resource providers” (Under “Settings”) in the left-hand menu and use the search bar to look for the missing Name Space. Once we have found it we select “Register” from the options above the search bar, and now it shows as registered. Let’s head back to our Action Group configuration page and try again.
This time when we hit “Create” the group is successfully created, and when we look in the “Action Groups” page our new group is now displayed. Now we can create our Budget alert.

We go to our azure home page at https://portal.azure.com, search for “Resource Groups”, click the relevant tile then select the resource group you want to set the budget for. Scroll down to “Budget”, add budget.
There’s not much to configure here, just a name and the period we want the alert active for, then the budget amount. We are going to set this quite low, however this needs to be appropriate dependant on the amount of logs being ingested, and available budget.

After hitting “Next” we want to be alerted when we have actually hit the budget amount rather than if it is expected we will hit the budget, or when we reach 80% of the budget. We also configure the previously created Action Group”, then add an email address for the generic email alert.

We set the language, then create the budget.

If successful the new budget will appear in the budgets page as shown below.

We have successfully created a new Resource Group, a Log Analytics Workspace, an Action Group, a budget, and an email alert to warn us if we hit our budget limit.
In the following guides we will configure some data connectors to start forwarding logs to our Log Analytics Workspace, and then set up Sentinel.
