

Before we can start to configure Intune, we need to think about Domains, Licenses, and Azure Active Directory Groups. If you already have a domain, and AAD groups ready, have assigned your licenses, and set the MDM authority to Intune, then you can skip straight to part 3.
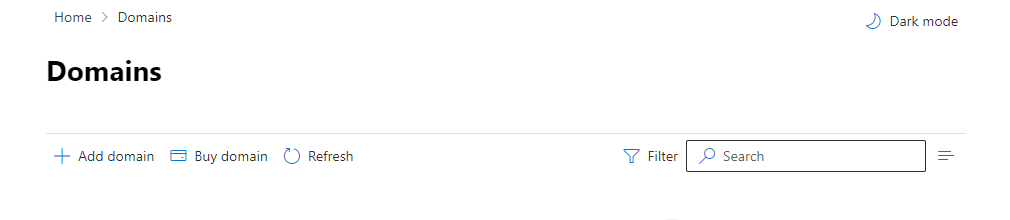
If you do not want to continue to use the default “<yourdomain>.onmicrosoft.com” domain you will need to connect a domain you already own or purchase a new one to use. Lets start with connecting a domain we already own. Login to the admin centre at https://admin.microsoft.com and login with your credentials. In the left hand menu click on “Settings” then “Domains”, and click “Add domain”.
Configure a Domain
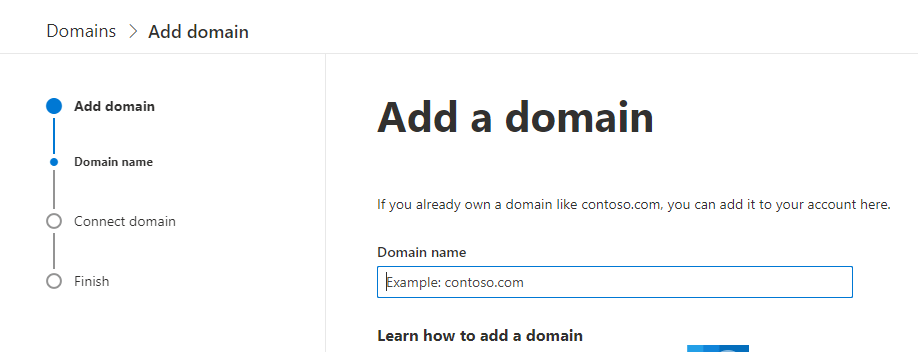
Then type in the full domain name that you already own and want to connect to your M365 tenant, and use for login names, email addresses and URLs etc.
Some domain registrars have automated set up available within the portal however ours requires us to create the DNS records manually. (If you are with GoDaddy, or other large commercial registrars you will be able to use the automated service so have a look at that option first to see if yours is listed).
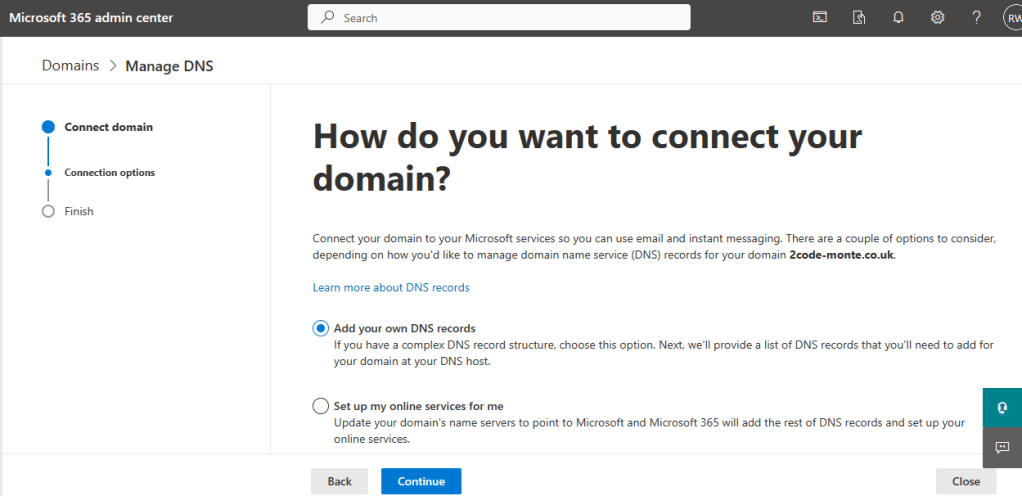
Using the “Add your own DNS records” method we copy the provided text and create a txt record in our DNS file held and configured within our registrars portal.
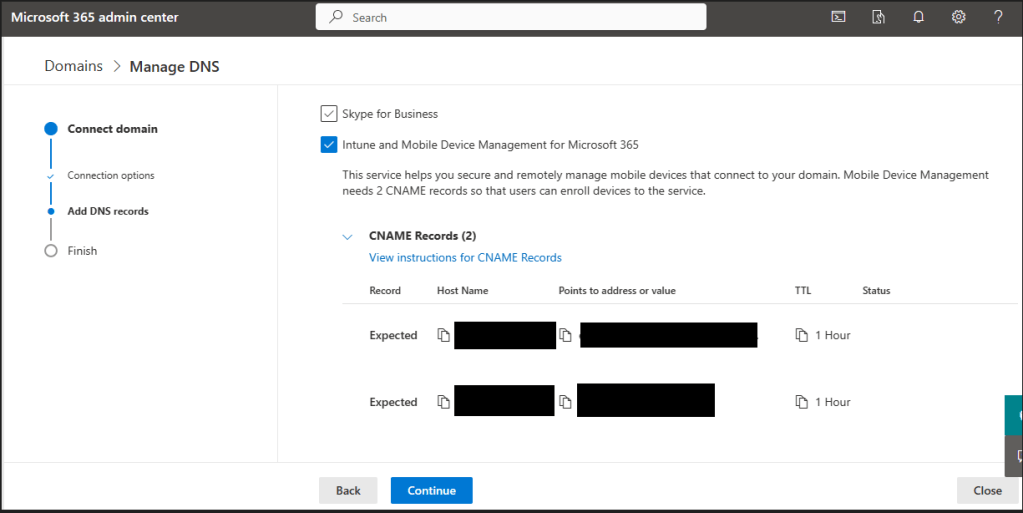
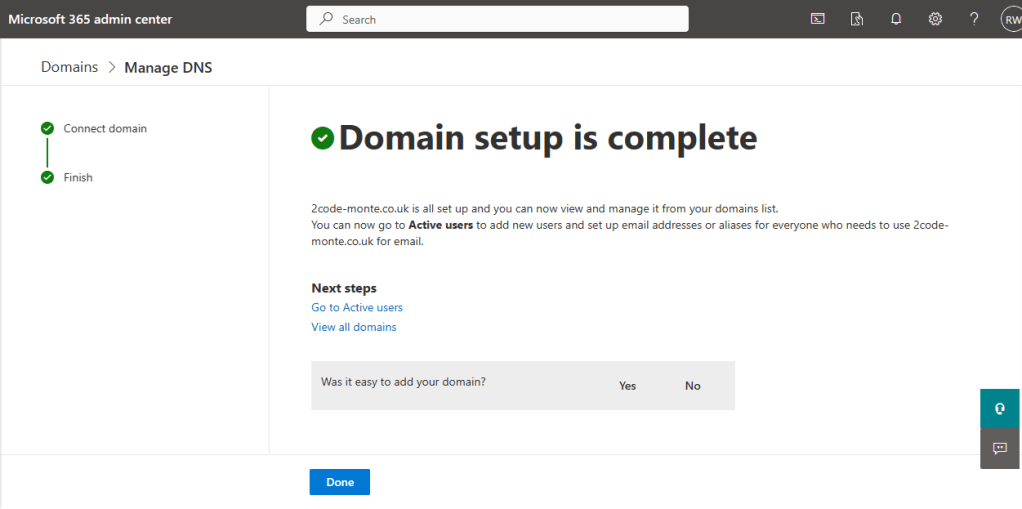
Once these are added, Microsoft 365 will do a check and when all is complete you will see a confirmed message.
Create a Group in AAD for Intune Users.
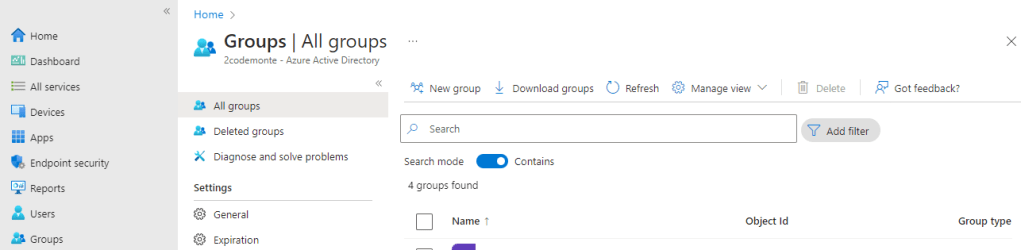
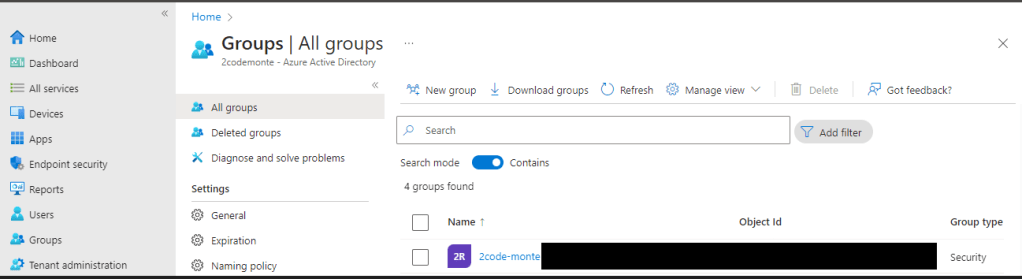
You can create a group within Intune which will automatically be created within AAD, so logging into the https://endpoint.microsoft.com portal we select “Groups” from the left hand menu, then “New Group from the Top Menu.
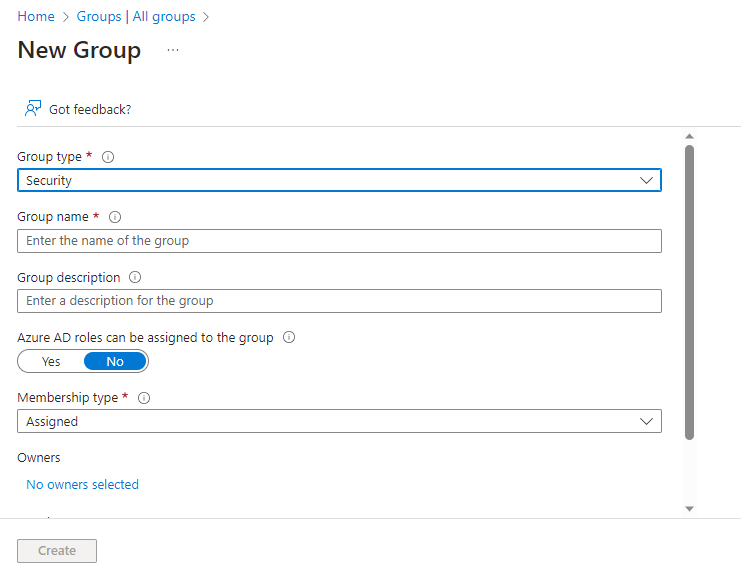
Create a name and add a description, leave the other settings as their defaults then hit “Create”. Your new group will be displayed within the Groups list on the Groups page.
You can also create a group for devices if you wish to, however for our demo we will use the default “All Devices Group” when applying configurations and policies. If you wish to limit these settings to a specific group of devices, create a group now.
Add Intune Users to the Group
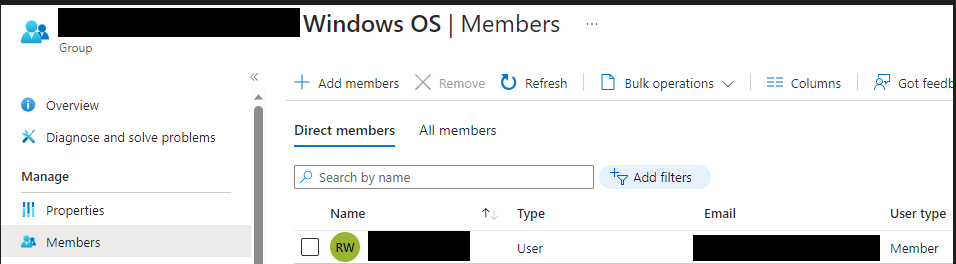
Select the new group from the list, then select “Members” > “Add Members”. Select the user(s) and save you changes.
Assign a License
We are using a Business Premium License in our test environment, and you will also need to ensure that the license(s) you have provide the required access to Intune functionality.
We can assign licenses within Intune or the admin centre, but as we are already here we’re going to use the Intune portal at https://endpoint.microsoft.com then from the left hand menu select “Groups” > “All Groups” > then select the group you created in Intune/AAD to manage your Intune Users.
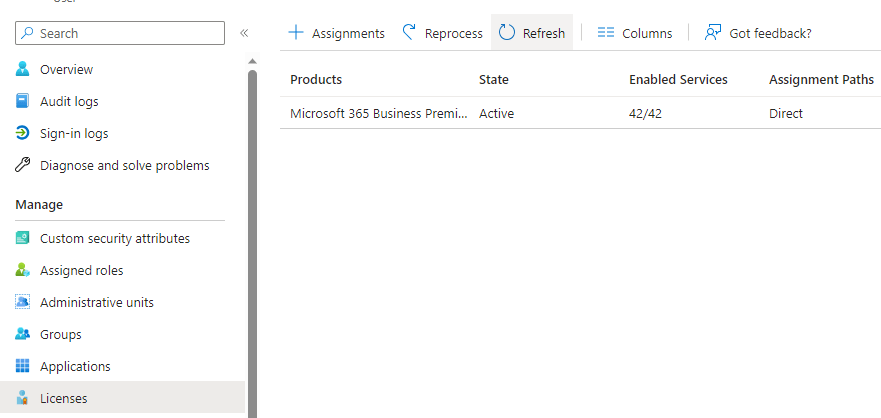
As we only have one License within our test environment we will assign the license directly to the user, so we then select “Members” > and then select the user we want to assign the license to. You’ll need to select “Licenses” from the sub-side menu then click “Assignments”, from this page you can assign any available license.
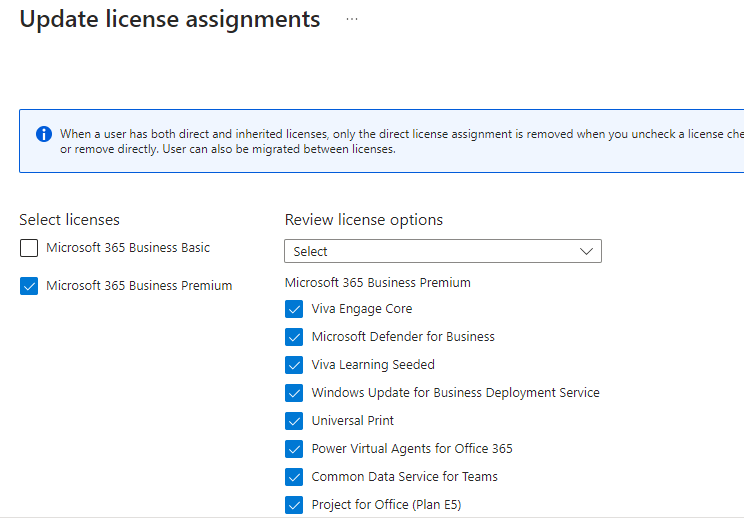
You can also untick certain functionality if you don’t want the user to have access to everything under that license type as shown below.
Set MDM authority to Intune
You need to ensure your MDM authority is set to Intune otherwise it will not be able to manage your devices. Fortunately, for tenants using service release 1911 and later, the MDM authority is automatically set to Intune.
If you login to Intune and receive an orange banner, click the banner and follow the instructions. If you want to check your service release, select “Tenant Administration” from the left hand menu, and on the displayed screen you will see the service release version and if Intune is the MDM authority.

Alternatively you can follow the guide here. https://learn.microsoft.com/en-us/mem/intune/fundamentals/mdm-authority-set
Now we are ready to move on to the next blog where we will start with App Security and create our first Intune configuration profiles.
