

Before we start, as a reminder you can find Intune documentation here, intune.
The main part you need for reference through this part is here, and the recommended Microsoft minimum baseline is here.
This blog will focus on how to manually set this policy however Microsoft does provide an Intune Security Baseline Policy Template which is now available within the Intune portal and can be deployed rather than manually creating your own policy. They also fully publish every setting and how they are configured to allow you to fully review the settings before you deploy to a production environment. The full list is available here.
IMPORTANT NOTE.
Don’t deploy anything without testing first as you cannot easily roll back restrictive policies applied via Intune. For example, you apply a baseline to a device, but it causes issues so you need to roll back. You can’t simply remove that user or device from the policy to revert all the changes as described in these articles, cant-change-security-policies-for-enrolled-devices and i-changed-a-device-restriction-profile-but-the-changes-havent-taken-effect so make sure all profiles are tested individually to identify any potential issues before they are deployed to a live environment. I would recommend doing a test roll back to make sure you have a well tested back out plan.
To access them you go to https://endpoint.microsoft.com then “Home” > “Endpoint Security” > “Security Baselines” as shown in the image below. We will do a separate blog where we go through using the baselines.

Let’s get started. As previously mentioned we will be using Business Premium Licenses throughout this blog, and will focus on Windows OS endpoints. Unfortunately creating app controls via the native Configuration Designer within Intune is not supported and so we will need to create our policies using XML. Fortunately however, Microsoft does provide a tool which will allow us to use a GUI to create our app configuration which we can export to XML, then paste this into the configuration page.
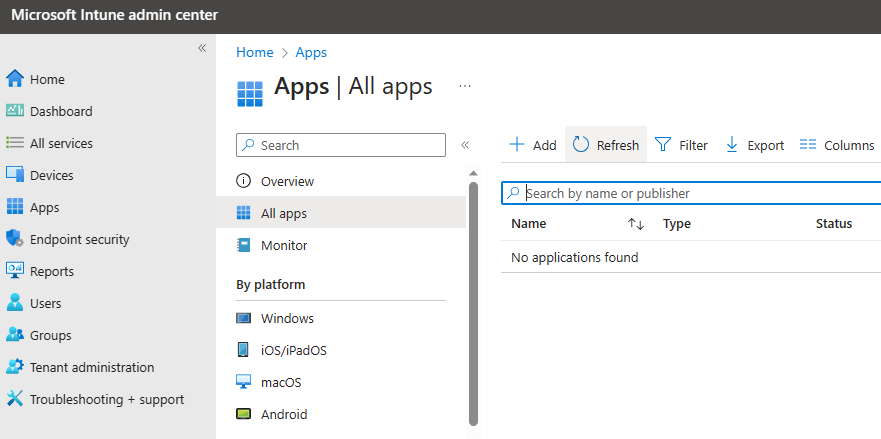
To start we go to https://endpoint.microsoft.com go to “Apps” > “All Apps” > then select “Add”.
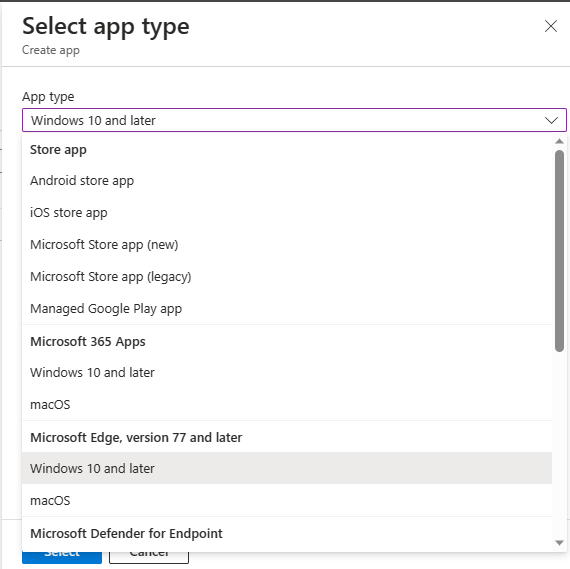
We are going to create a policy for Office 365 Apps for Windows 10 and later so we select “Windows 10 and later” from the first menu.
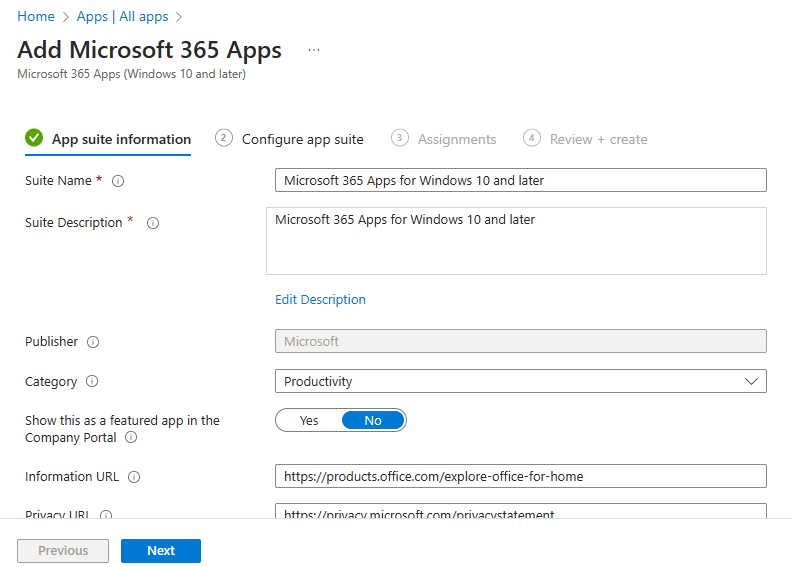
We add a name and description then leave the first page unchanged, then as previously outlined we need to use a separate tool to create our XML configuration.
Leave this tab open then head over to https://config.office.com/ and login with our Azure credentials.
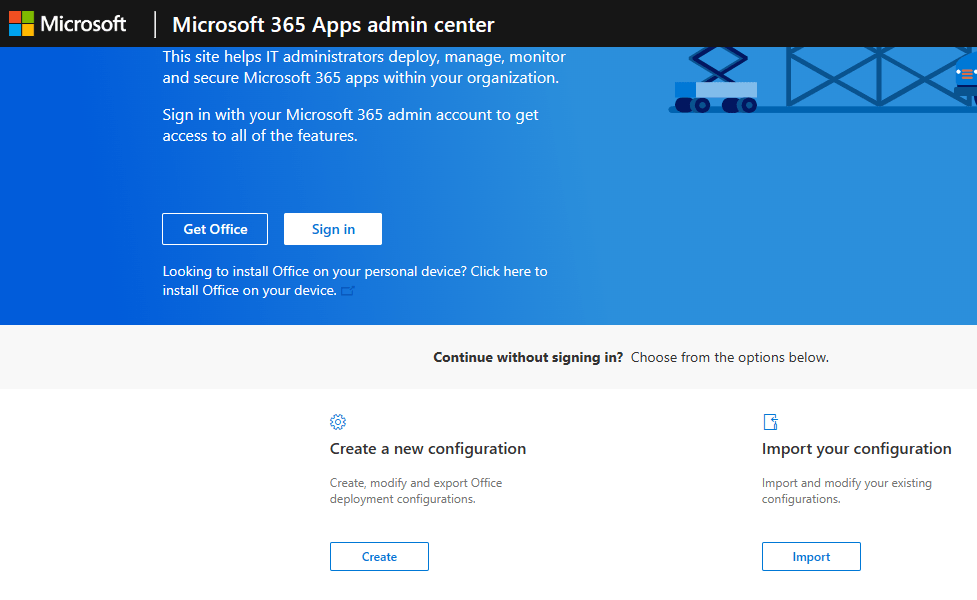
Now we can now start creating our configuration, so we select “Go to Microsoft 365 Cloud Policy”, under “Office Policies”.

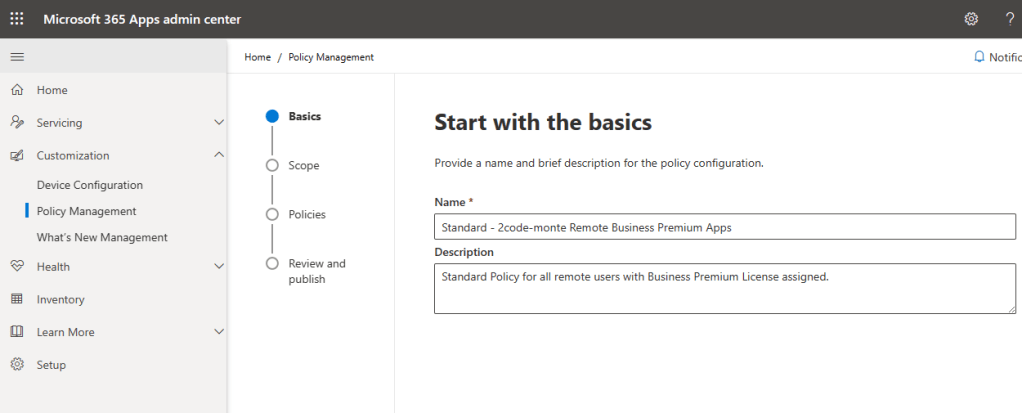
On the “Policy Configuration” page select “Add”, then provide a name and description.
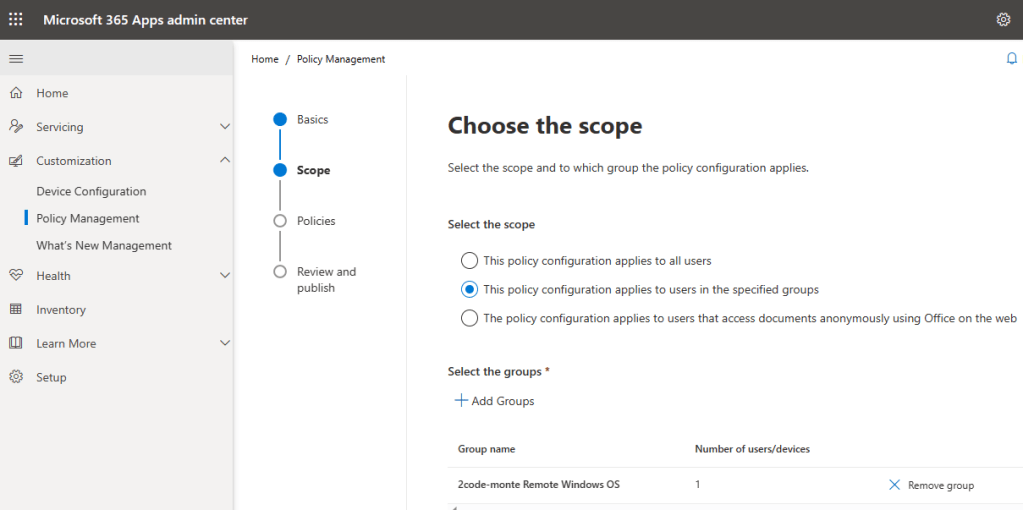
Select who this policy will apply to. For us it will be the remote users group we created previously, so using the “Add Group” option we select and add the specified group. This is why you need both a users group and a devices group as throughout the guides we will be using policies which apply to each separately dependant on the scope and requirement.
Next we move onto the policies shown below. There are over 2000 policies so we won’t be going through all of these in detail! You certainly want to pay attention to any which block Macros, VBA script, and child processes.
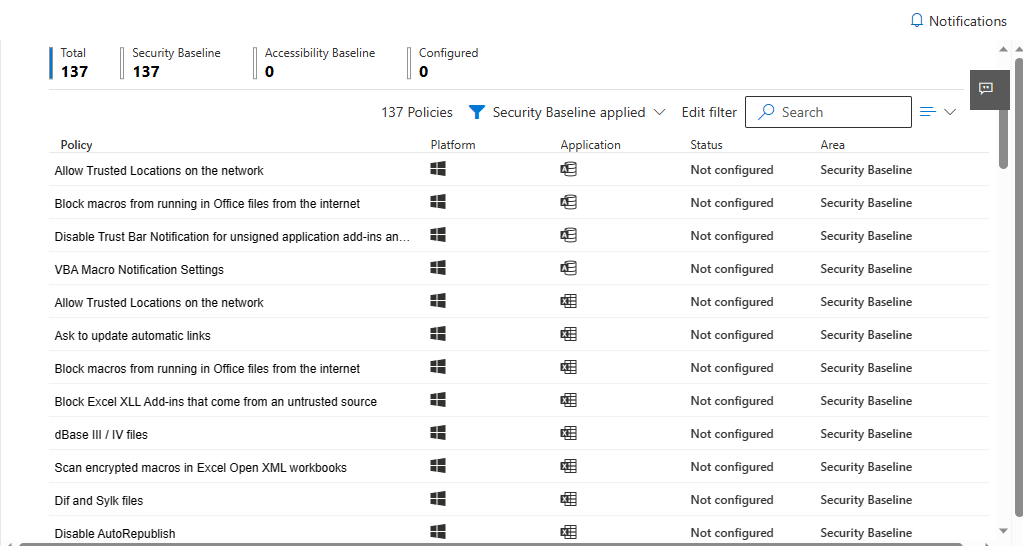
Luckily Microsoft does not expect you to go through all of these either, and will by default apply a security baseline for you. If we look at the “Block Macros” policy as an example, we can see that although it shows as “Not Configured” we can see that Microsoft has actually applied a recommended baseline setting.

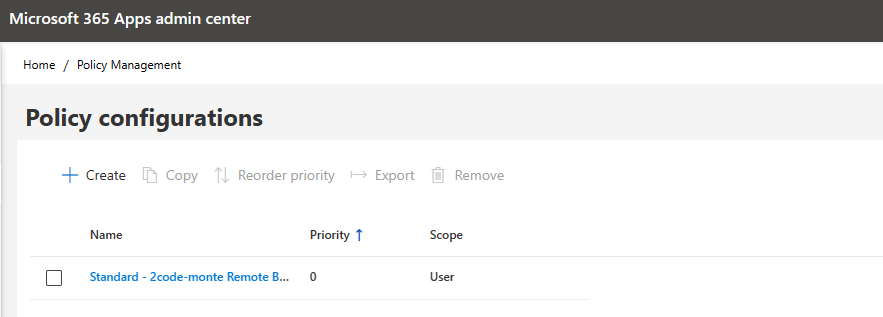
Let’s select “Create” to finalise the policy which will then display as below.
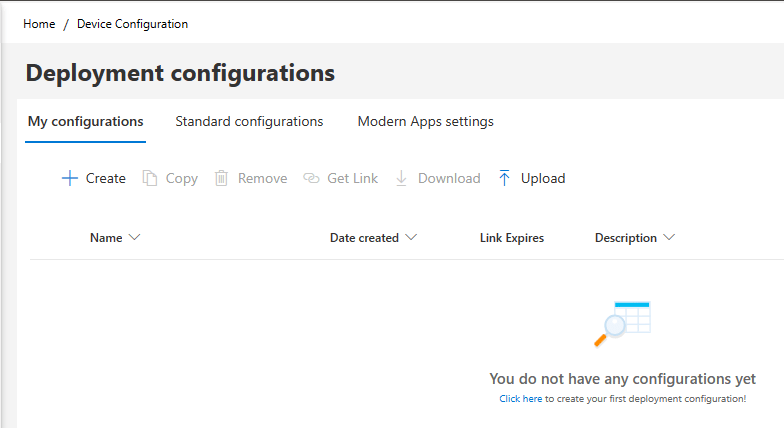
Now we need to create a device configuration, We stay in the same portal (https://config.office.com/officeSettings/) “Customisation” > “Device Configuration” > “My Configurations” then select “Create”.
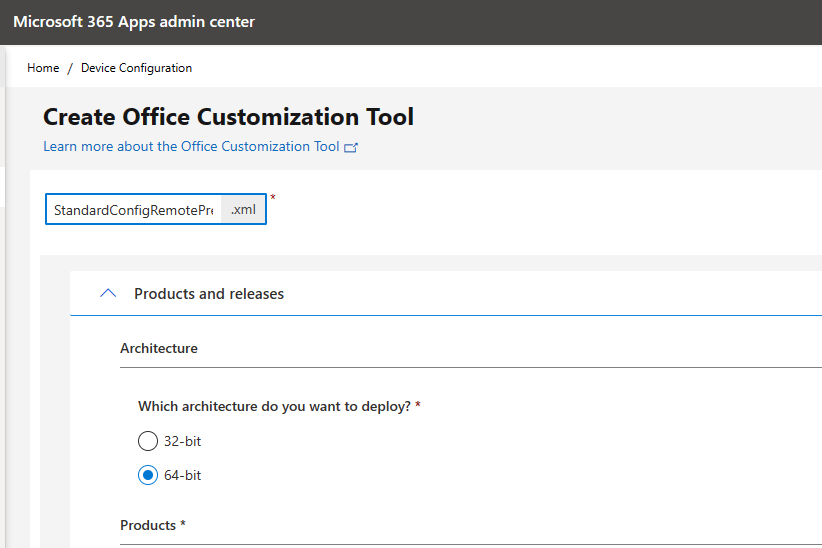
Architecture > 64-bit
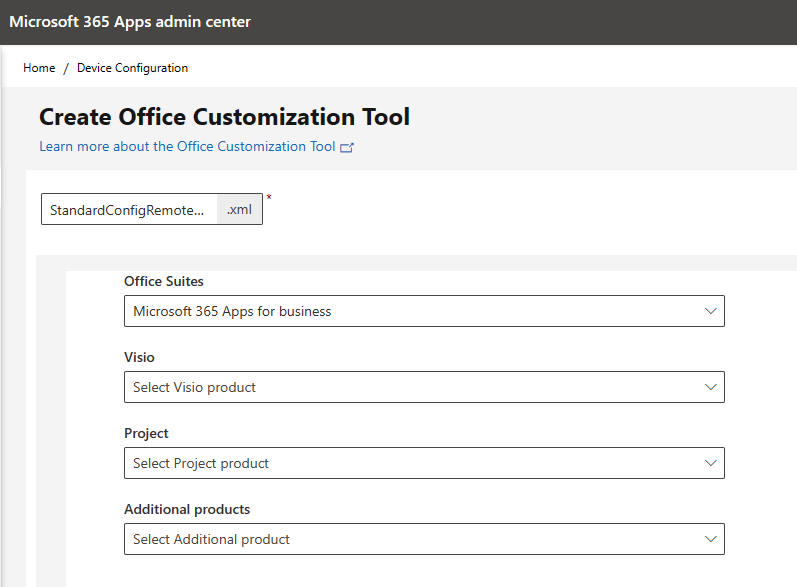
Office Suites > Microsoft 365 Apps for Business (You choose your license type)
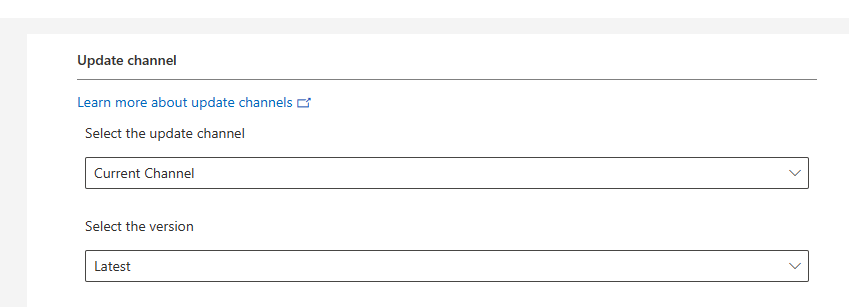
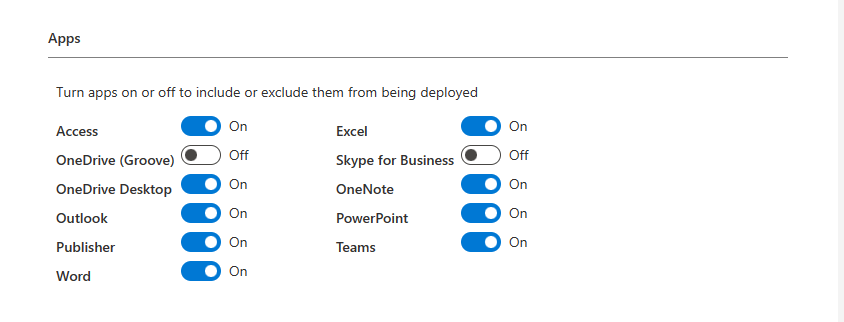
Update Channel and Apps left unchanged
There are also config options for
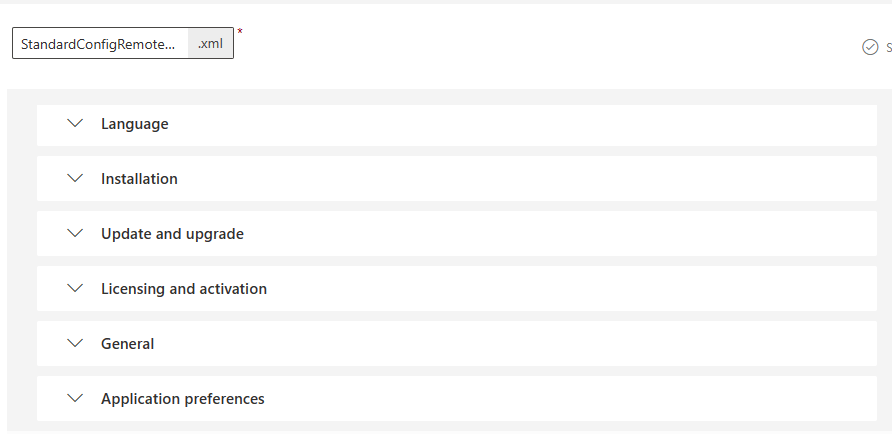
Language > English UK
Installation > Use the CDN (As we are exclusively Cloud Based), and “Show installation to user”
Update and Upgrade > Options left at their defaults
Licensing and activation > We are using User Based Licensing
General > Enter Org name and provide a description
Application Preferences > Leave using defaults > (These settings allow you to fully customise the end user experience for 365 Apps)
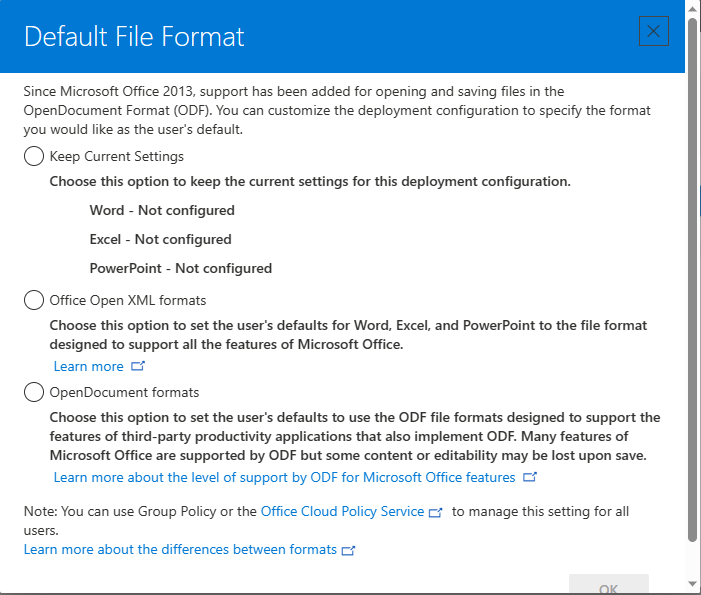
Download format > Select “Keep Current Settings”
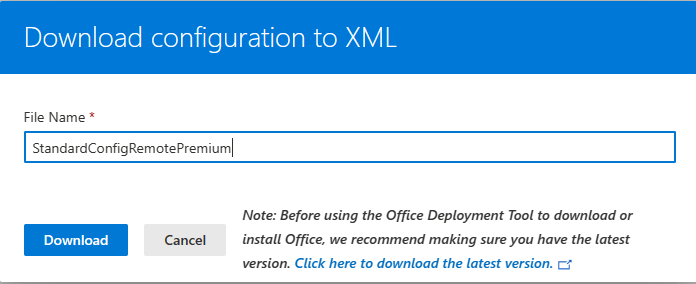
Then name and download your config file.
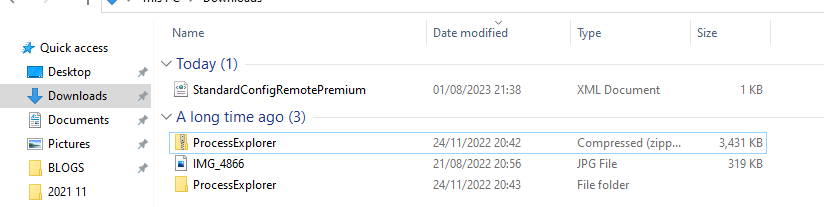
You can see this new configuration under “Deployment Configuration”, and below shows the configuration file downloaded to our local device.
Back to the tab we left open at https://endpoint.microsoft.com > Home > Apps > All Apps > Add Microsoft 365 Apps.
Open your downloaded XML file in Edge or Notepad for example and then paste the XML code into the Window provided in the “configure App Suite” page then click “Validate XML”

You should receive a “successful” pop up. (If not you have missed out either the start or end of the code or changed something as the Microsoft Tool creates the code as required for this Window) then click “next”
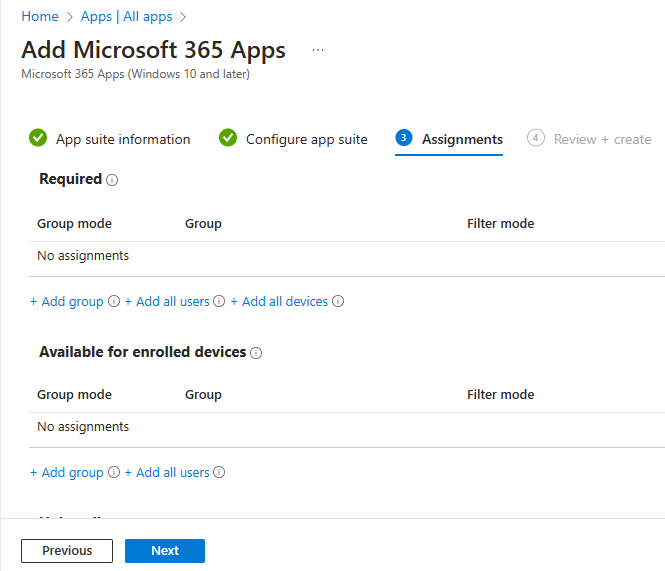
Now we assign the configuration to a group, but we need to decide if you want to let the user decide whether they want to download the apps, or whether you want to force the local installation of the apps. If you want to force the download select “Required”, if you want the user to have the option, add the group to the “Available for enrolled devices” section.
Hit “Next” > “Review and Create”, and you’re all done.
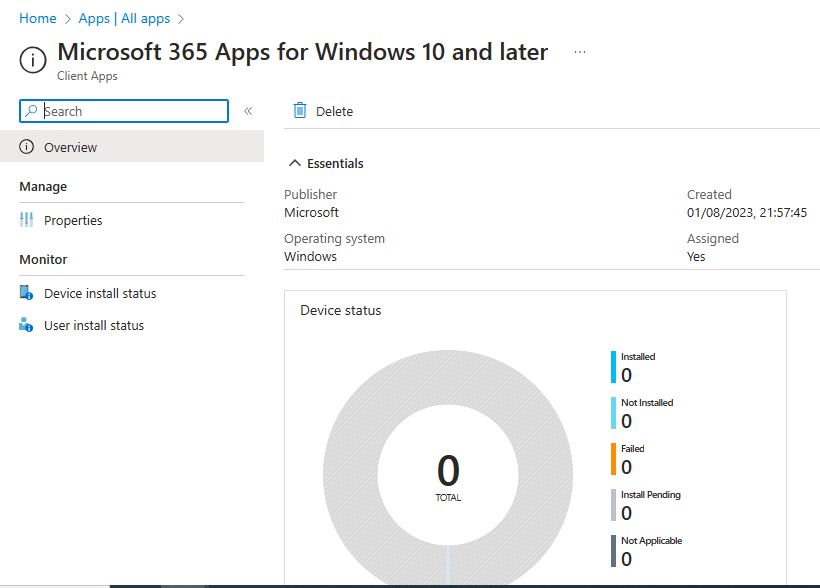
The dashboard is currently empty as we do not have any enrolled devices, but come back to this overview page when you start enrolling devices and apps are being installed to identify issues. These settings are also not “set and forget”, we will be constantly monitoring our posture within Microsoft 365 Security Centre.
The next part will cover compliance policies.
