

It’s taken 16 blogs in this series to get here, but here we are, updating!
Before we start, let’s put it out there that we should all be working towards auto updating. Yes it’s easier said than done, yes there are some very complicated infrastructures with legacy apps, different builds, oddities and exceptions, but even if we can’t apply updates automatically to everything, we can auto update some of our endpoints, and that’s a start.
Intune allows us to set staggered auto update rings to device groups, and this includes deferral periods, and user snooze settings.
First Steps
We’re not going to go in-depth here on how to build a patch management program for your org, however we did cover patch management previously if you want to take a look. You can find the blog here Patch Management.
A standard patch deployment program typically consists of four to five primary groups which may consist of.
- Preview or Test.
- Primary or Pilot Group.
- Main Group.
- VIPs.
- Dev/sensitive Group.
We’re not going to cover all setups here, we’re going to configure a standard group as an example as there are too many variables to cover in a blog.
Let’s create a Group which will be used to assign the Update Configuration to the desired group of devices. It makes it easier to track if we name the Group and the Configuration with similar terms.
This can be carried out directly in the Intune portal at https://intune.microsoft.com/ > Groups > then select “New Group”.

Give it a name, a description, and add members before saving. Remember we need to create a group for all update rings.

NOTE: We want to apply update rings to Devices, rather than users, especially if users regularly swap or login to other users devices.
Update Reports
If we want to be able to use Windows Update Reporting functionality in Intune, we need to enable a diagnostic setting. From the Intune portal we go to “Tenant Administration” > “Connectors and Tokens” > “Windows Data” > then enable the setting highlighted below.

Configure the Update Rings.
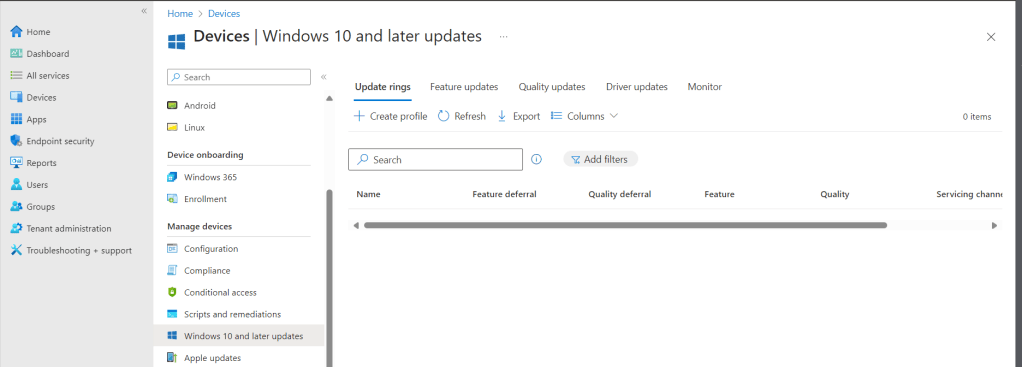
First off we will configure an update ring for our main deployment group so from within the Intune portal at https://intune.microsoft.com > Devices > and scroll down to “Windows 10 and later updates” > Ensure that “Update Ring” is selected in the top menu and then select “Create profile”.
For our standard devices we will configure as shown in the below screenshots.

We will enable Microsoft Product updates, and Driver updates (We will be configuring a Driver update policy to work in tandem with our Update ring policy), we will defer quality updates by 3 days, and leave Feature updates to 0, as this allows it to be configured within the Feature Update policy (which we will create later).

We will allow a 30 day roll back for Feature updates (in case there are issues), and allow end users to pause and check for updates themselves, however we will also use the Deadline settings to ensure updates are installed within 14 days of them being released. This gives us assurance that updates will be installed without manual intervention but does provide the user some flexibility and control over when the installation occurs.

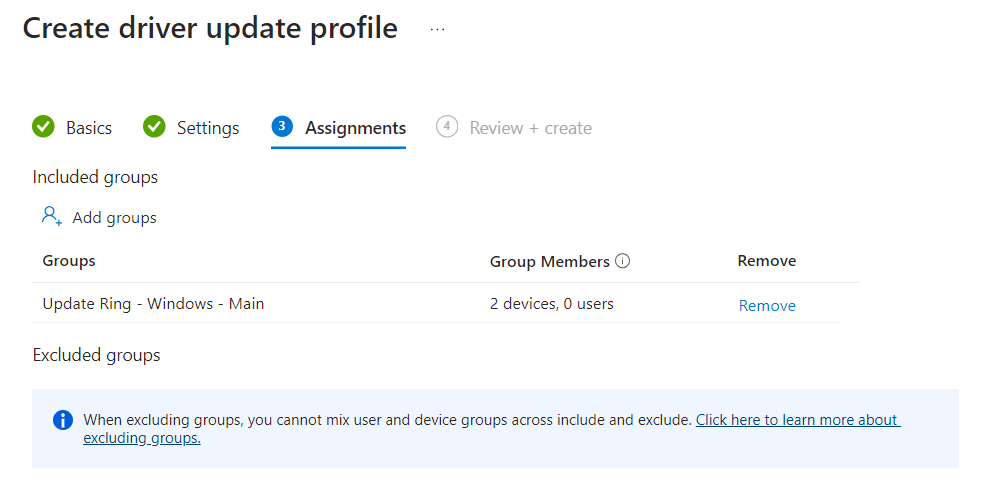
We assign this policy to our previously created Group, then review and save.

Configure Driver Policy.
Configuring Driver policies is very simple. In this example we are selecting to auto-approve driver and BIOS updates, now obviously within a live environment we may want to set this to manual approval. Manual approval will require human intervention to approve and roll out all driver and BIOS updates. Here we are configuring for our main group, on the basis that they would have been tested by the test team during the previous 14 days before they are rolled out automatically to our main deployment group.
Go to the Intune portal at https://intune.microsoft.com > Windows devices > Driver updates for Windows 10 and later.

We create a new profile and select whether to manually or automatically approve updates. (Select the one relevant to your deployment type).

Assign to a Group, then Save.
Configure Feature Update Policy.
Generally we want to limit our estate to one or two different OS versions, and we can manage this via the Feature Update Policy. We can set the version we want, and assign it to a group of devices. This way when a new version is released we can use a separate Features Policy to install the new version to our test group, then when we are happy, we can change the version in our main deployment group policy to start pushing out the new version to our standard users.
We stay within the same page and this time select “Feature Updates” in the top menu and then “Create Profile”.

We provide a name and description, select the version we want to install, and then the appropriate roll out options. Here we have selected “make the updates available as soon as possible”, however in a true production environment we would more likely select the option “Make update available gradually”.

Assign to a group, and save.

That’s it, we have configured update policies for our main deployment group. Now we would repeat these steps for all our deployment groups.
